前端开发者或者reactNative开发者 对于状态管理应该不会陌生,例如前端大名鼎鼎的redux框架 。
在flutter中,对于状态的同步管理是一项很繁琐的申请,比如我们需要将一个值传入后续的N个widget中,需要一层层的传递,并且对于值同步也很麻烦。

在这样的背景下,各种状态管理框架应运而生了,它可以让我们更方便的管理state,同步数据,等操作

在2019年google io大会,用 provider 取代了之前 的provide 框架 ,provider框架很健壮也有灵活,配置简单,本文主要介绍 provider框架的用法
1. 添加依赖
在pubspec.yaml文件中添加以下依赖 ,然后执行 flutter pub get 进行下载安装
2.1 简单使用
相比较于之前的写法,这里我们用Provider.value()的方式进行构件一个APP
flutter APP 入口处添加一下代码
1
2
3
4
5
6
7
8
9
10
11
12
13
| void main() => runApp(new ZhiHu());
class ZhiHu extends StatelessWidget {
@override
Widget build(BuildContext context) {
return Provider<String>.value(
value: "hello from provider",
child: MaterialApp(
title: "知乎-高仿版",
home: Index(),
),
);
}
}
|
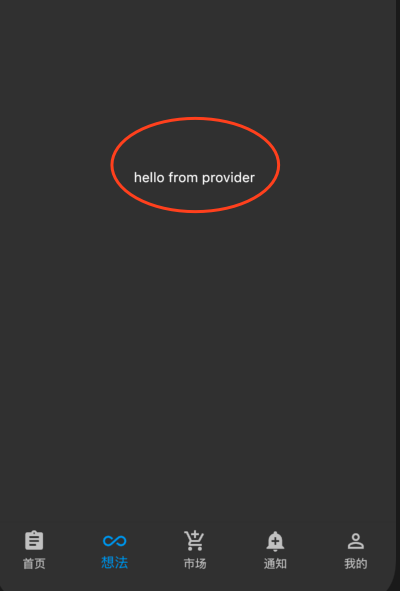
在这里,我们将一个 值为 ‘hello from provider’ 的字符串设置为共享,并返回一个materialApp
2.2 获取值
1. 使用consumer的方式获取并返回一个widget
1
2
3
4
5
| Consumer(
builder: (BuildContext c,String value,Widget child){
return Text("text : $value");
}
),
|
2. 直接获取
1
| Provider.of<String>(context)
|

3. 结合ChangeNotifier 接收监听变化
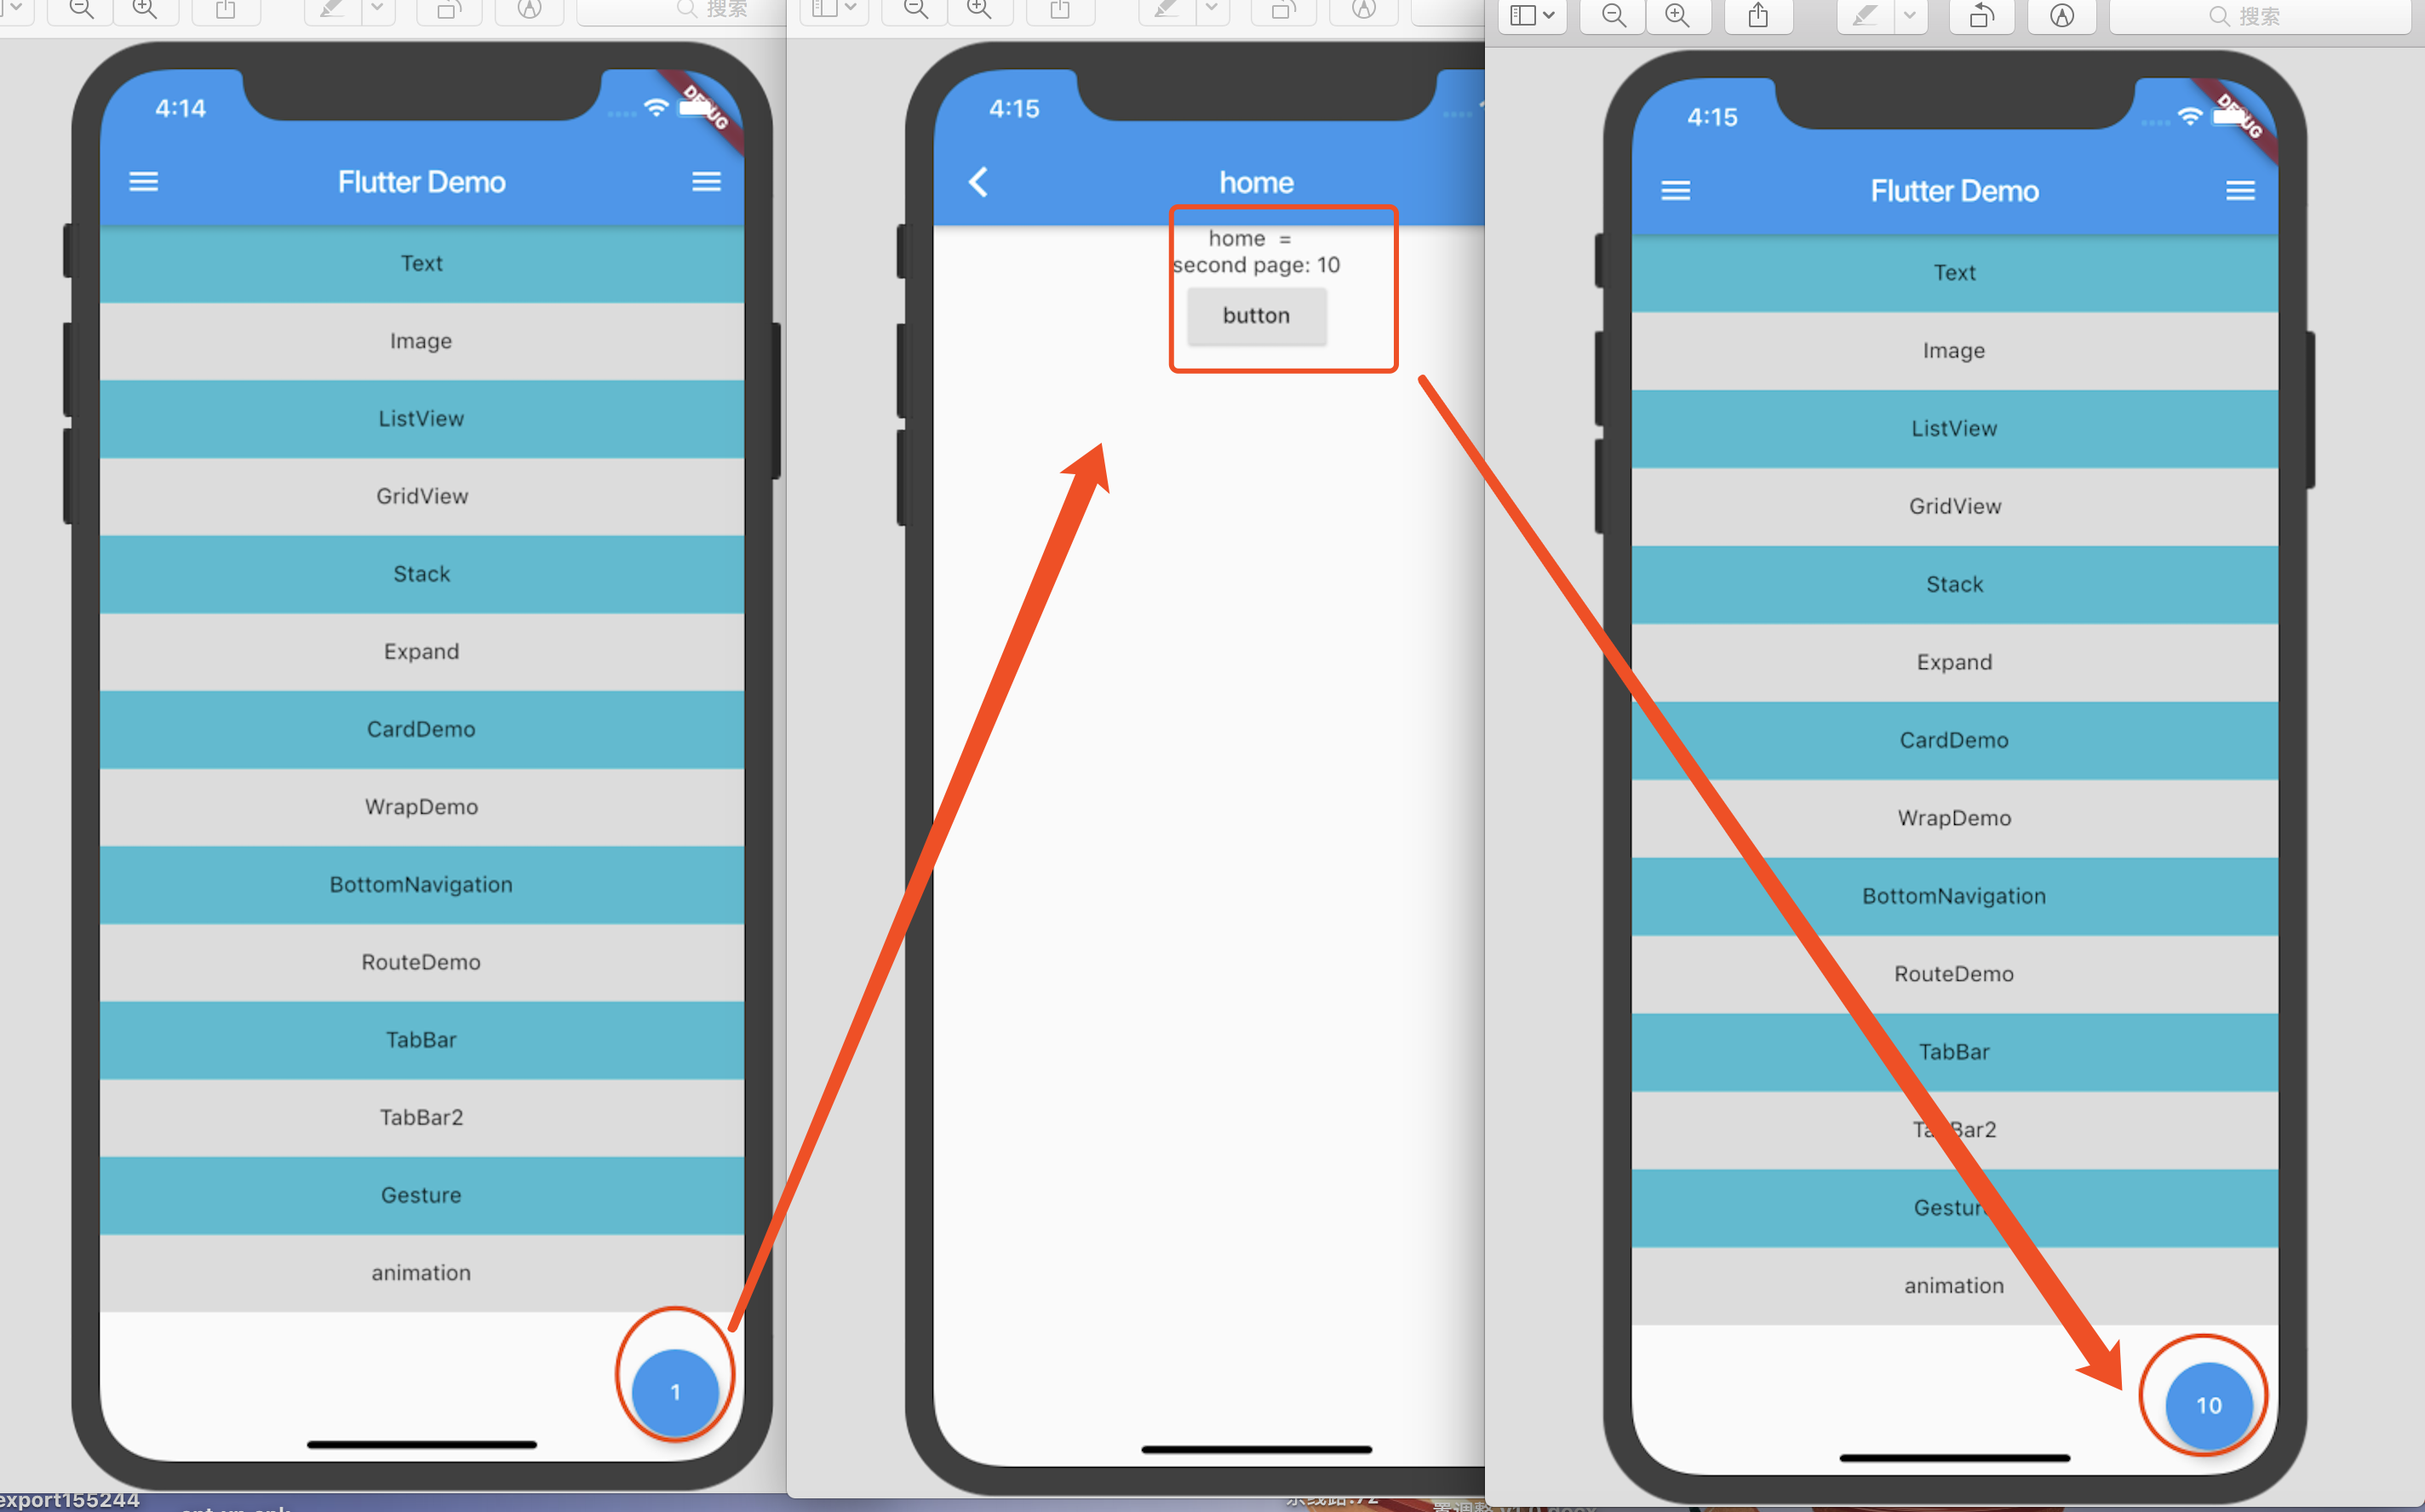
使用场景如下: 我们在首页有一个按钮显示初始值1,点击跳转到第二个页面,然后改变这个值,返回到首页,看到值同步。

1. 首先定义我们的 Count类金西行数据监听
1
2
3
4
5
6
7
8
9
10
| class Count with ChangeNotifier {//1
int _count;
Count(this._count);
void add() {
_count++;
notifyListeners();//2
}
get count => _count;//3
}
|
2. 注册provider. 将我们的count注册进去
1
2
3
4
5
| return MultiProvider(
providers: [
ChangeNotifierProvider(builder: (_) => Count(1)),
],
child: MaterialApp()
|
3. 设置 FloatActionButton
1
2
3
4
5
6
7
8
9
10
11
12
13
| floatingActionButton: Consumer<Count>(
builder: (BuildContext context, Count snapshot, Widget child) {
return FloatingActionButton(
onPressed: () {
// snapshot.add()
Navigator.pushNamed(context, "/home");
},
child: Text(
// '${Store.value<Count>(context).count}'
'${snapshot.count}'
),
);
|
到此为止,完成了首页的开发工作。下面进行第二页的开发,我们显示 count中的数字,使用按钮进行 1 的递加 ,当我们点击按钮,回到首页会发现,按钮上的文字已经改变为我们修改后的值
1
2
3
4
5
6
7
8
9
10
11
12
13
14
| Builder(
builder: (context) {
return Text(
'second page: ${Store.value<Count>(context).count}'
);
},
),
RaisedButton(
child: Text("button"),
onPressed: () => {
Store.value<Count>(context).add()
},
),
|

4. provider的简单封装
1
2
3
4
5
6
7
8
9
10
11
12
13
14
15
16
17
18
19
20
21
22
| class Store {
static BuildContext context;
static BuildContext widgetCtx;
static init({context, child}) {
return MultiProvider(
providers: [
// Provider<Count>.value(value: Count(1)),
ChangeNotifierProvider(builder: (_) => Count(1)),
],
child: child,
);
}
static T value<T>(context) {
return Provider.of(context);
}
static Consumer connect<T>({builder, child}) {
return Consumer<T>(builder: builder, child: child);
}
}
|
参考:
pub.dev/packages/provider


